How to Confirm a Same-Chain Crypto Swap Landed in Your Wallet

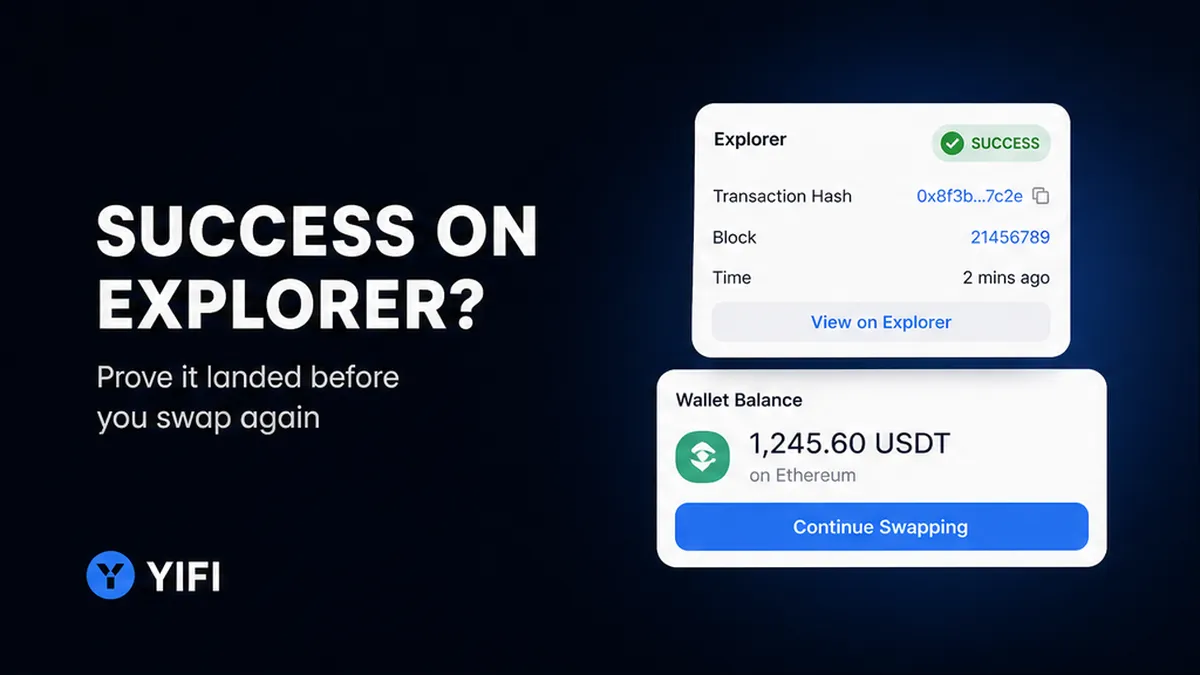
You signed a same-chain crypto swap, but your wallet still shows the old balance – or the new token never appears. That does not always mean the trade failed. Prove the outcome on a block explorer with one transaction hash: Status Success, then an output Transfer to your wallet that matches the token contract and amount. Only after you classify landed, pending, or failed should you refresh the UI, add the token by contract, or consider another swap.
Summary: A same-chain swap is settled with one hash on one network. Open the explorer for that chain, confirm Status Success, then match the Token Transfers row to your address, the expected contract, and the quote amount. If the explorer shows credit but the wallet UI does not, add the token by contract and refresh – do not send the same swap again until you know the state.
Same-chain means both tokens live on the network your wallet was connected to when you signed – no bridge hop, no second destination hash. YiFi docs describe on-chain swaps as settling atomically; cross-chain routes are covered in our cross-chain arrival guide. A block explorer is a public receipt book; a transaction hash (tx hash / txid) is the receipt number; gas is the network fee you already paid. After signing: find the receipt, read Status, then prove the output tokens moved to you.
How to treat same-chain confirmation as one hash on one explorer
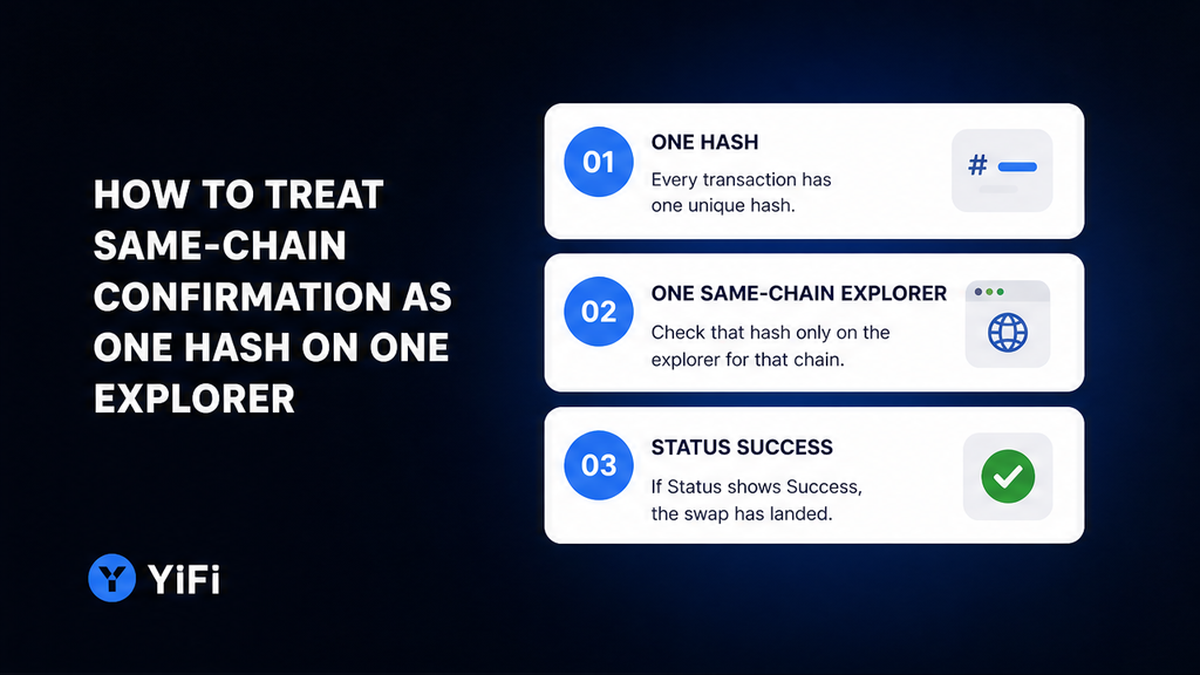
Do not open a bridge tracker or a destination-chain explorer for a same-chain swap. Use the explorer that matches the network in your wallet when you clicked Confirm – for example Etherscan on Ethereum or Arbiscan on Arbitrum.
Do: stick to one chain and one hash until Status is final. Do not: mix this with cross-chain verification (source + hop + destination). If the route was a bridge-and-swap, use the cross-chain guide instead.
Workflow:
Wallet / aggregator receipt → full tx hash → correct-chain explorer → Status → Token Transfers → contract + amount match → wallet display fix only if needed
How to copy the full transaction hash before you leave the page
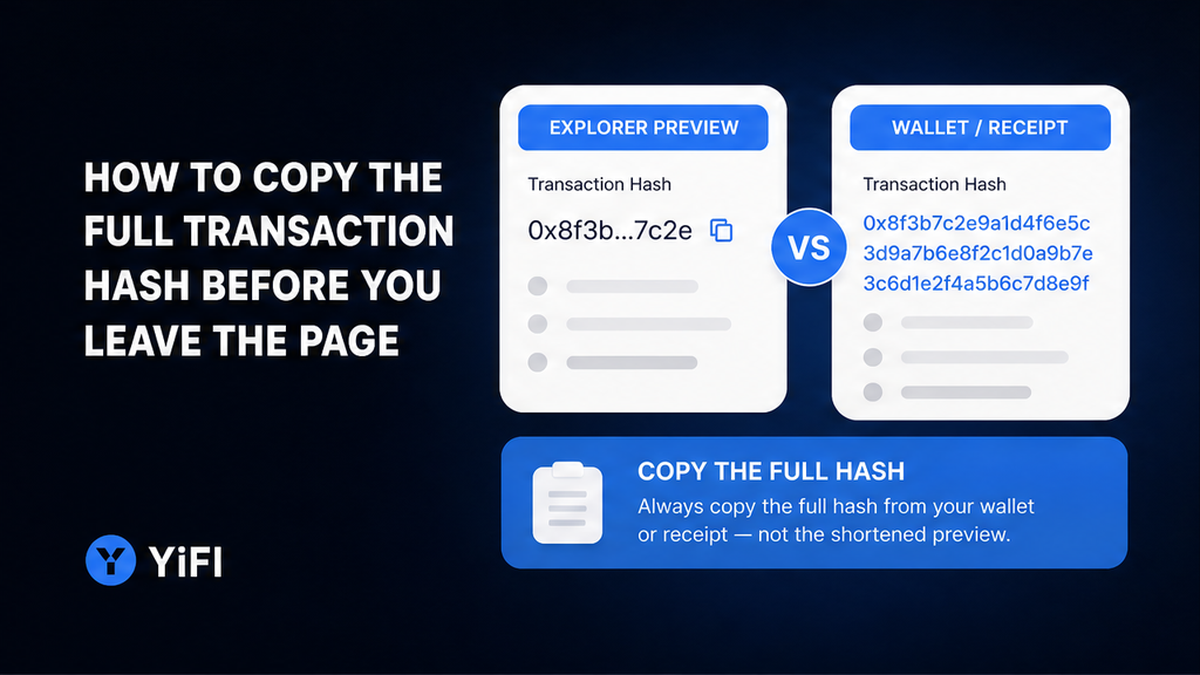
After you sign, the wallet activity or aggregator receipt shows a long hex string (on EVM networks it usually starts with 0x). That is your receipt ID. Etherscan’s guides treat the hash as the primary lookup key – copy it fully before you close the tab.
- Open the wallet activity entry or the swap receipt for this trade.
- Copy the full hash – every character, no spaces, no truncation.
- Paste it into a notes app so you can reopen it if the UI clears.
- Note which network you were connected to (Ethereum, Base, BNB Smart Chain, and so on).
- Only then close the swap page.
Do: keep the full hash and the network name together. Do not: rely on a ticker icon or a vague “Completed” badge in the app alone – those can lag or mislead.
How to confirm Status Success on the correct-chain explorer
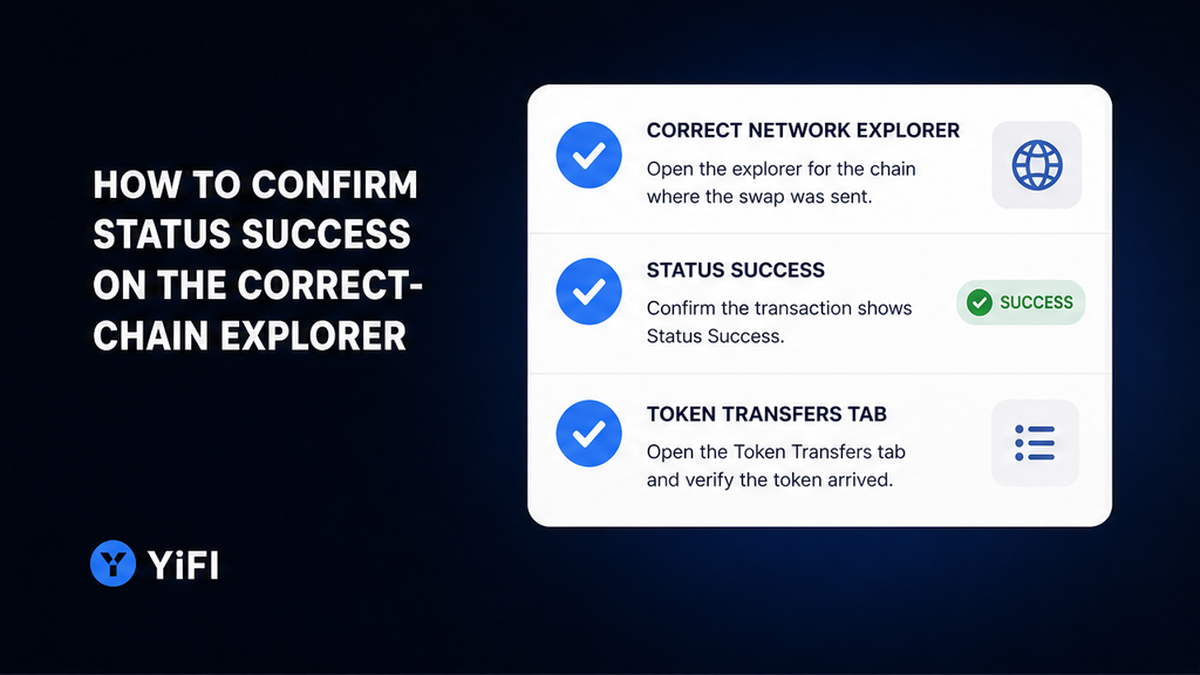
Open the explorer for the same network you signed on and paste the hash into search. On Etherscan-style UIs, Status can read Successful, Pending, Failed, or Dropped (Dropped may mean the tx was replaced). Treat Status as step one, not the finish line.
- Open the explorer for the chain you signed on – not a random multi-chain dashboard.
- Paste the full hash and open the transaction page.
- Read Status first. Pending means wait; do not spam a second swap.
- If Status is Fail or reverted, stop and use our reverted-swap troubleshooting guide – do not re-send yet.
- If Status is Success (or Confirmed), leave the page open and move to Token Transfers.
Success means the transaction executed – not that your wallet UI refreshed. Chipi Pay’s on-chain notes make the same point: a SUCCEEDED receipt without the expected Transfer event is not a completed delivery.
Do: wait out Pending until Status is final. Do not: treat a green Success badge as proof that the output landed in your address.
How to match the output Transfer: your address, contract, and amount
For token swaps, the native Value field often shows 0 ETH (or 0 of the chain’s gas coin). That can be normal. Token movements live under ERC-20 / Token Transfers. Blockscout’s DeFi swap walkthrough stresses Status, From/To, fees, and Token Transfers – method name alone is not enough.
- Open the Token Transfers (or ERC-20) section on the same tx page.
- Find the output row: direction To equals your wallet address.
- Click the token name and copy the contract address – the long 0x address of the token itself, not a ticker like “USDC”.
- Compare that contract to the token you meant to buy (listing pages or the quote; see also our pre-swap contract check).
- Compare the amount to the quote’s expected output or minimum received. Fee-on-transfer or rebase tokens can make the net balance differ slightly from the raw Transfer – use that as a check, not a panic trigger.
| What you see | What it usually means | Next action |
|---|---|---|
| Status Success + Transfer to you (contract + amount match) | Swap landed on-chain | Fix wallet display if the UI lags |
| Status Pending | Not final yet | Wait; do not double-send |
| Status Fail / reverted | Trade did not complete | Troubleshoot; do not assume UI lag |
| Success but no output Transfer to you | Not a landed credit to your wallet | Stop and investigate before another swap |
Do: trust contract address + Transfer direction over a familiar ticker. Do not: conclude “I got nothing” only because native Value is 0.
Fix a lagging wallet UI: add the token by contract and refresh
MetaMask’s help docs are clear: if balances look wrong, confirm the tx on an explorer and that you selected the right network first. Explorer credit beats a stale UI. User-reported MetaMask issues also describe balances that lag after swaps – treat that as display delay, not failure.
- Stay on the same network the explorer used for the Success receipt.
- Pull to refresh, or switch to another network and back, to force a balance reload.
- If the token is still missing, open Manage tokens → Add custom token (wording varies by wallet).
- Paste the token contract address copied from the explorer Transfer row on that same chain.
- Import / confirm. Adding a custom token only teaches the wallet how to display a balance you already hold – it does not move funds.
MetaMask documents enhanced token detection on several major networks, but it will not always auto-list every long-tail token. Manual add-by-contract is the reliable fix when the explorer already shows your credit.
Do: add by contract from the explorer of the same network. Do not: paste a contract from another chain, or send a second swap “just to make the balance appear.”
For the next same-chain route, open YiFi Swap with this checklist: keep the hash, read the explorer, then fix display. YiFi is non-custodial – you keep your keys; quotes are indicative under the Swap Terms; the homepage FAQ states YiFi charges no extra platform fee on swaps while you still pay network gas plus exchange/LP fees.
Decide landed, pending, or failed before any second swap
The costliest mistake is a double-send while the first tx is Pending or already Landed but hidden in the UI. Classify first.
Decision checklist:
Landed = Success + output Transfer to you (contract + amount) → refresh / add token only
Pending = no final Status yet → wait
Failed = Fail/reverted, or Success without an output Transfer to you → stop; troubleshoot before retry
- Ask: is Status final on the correct explorer?
- Ask: is there an output Transfer to my address?
- Ask: do contract and amount match the quote?
- If all three yes – treat as Landed; fix display, do not re-swap.
- If Pending – wait for a final receipt. If Failed or no matching Transfer – diagnose before any retry.
Do: let the explorer classify the trade before more gas. Do not: chase support DMs that ask you to “resend to unlock” funds – that is a scam, not a fix.
Keep the habit for the next same-chain trade: copy the hash → Success → Transfer match → UI fix if needed. Start again from YiFi Swap for another one-chain route.
Frequently asked questions
Explorer shows Success but my wallet balance did not move – what now?
Open Token Transfers on that tx, confirm a row To your address with the expected contract, then stay on that network and add or refresh the token. Explorer credit wins over a lagging UI.
Which explorer do I open for a same-chain swap?
Use the explorer for the chain your wallet was connected to when you signed – for example Etherscan for Ethereum or Arbiscan for Arbitrum. Do not open a bridge tracker for a same-chain trade.
When is a missing token a display issue versus a failed transfer?
Display issue: Status Success plus an output Transfer to you. Failed: Status Fail/reverted, or Success without an output Transfer to your wallet address.
Does adding a custom token move funds into my wallet?
No. It only tells the wallet how to show a balance that already exists on-chain. Funds do not move when you import a contract address.
Native Value shows 0 ETH after my swap – did I get nothing?
Often normal for ERC-20 swaps. Check Token Transfers / ERC-20 for the output asset (and Internal Txns if the route unwrapped to native coin).
Should I send the same swap again if the UI still looks empty?
No. Classify landed, pending, or failed on the explorer first. Only retry after Failed is confirmed – and you know why the first attempt failed.
How is this different from verifying a cross-chain swap?
Same-chain uses one network and one hash. Cross-chain needs source progress, the bridge hop, and destination credit – see the cross-chain guide.